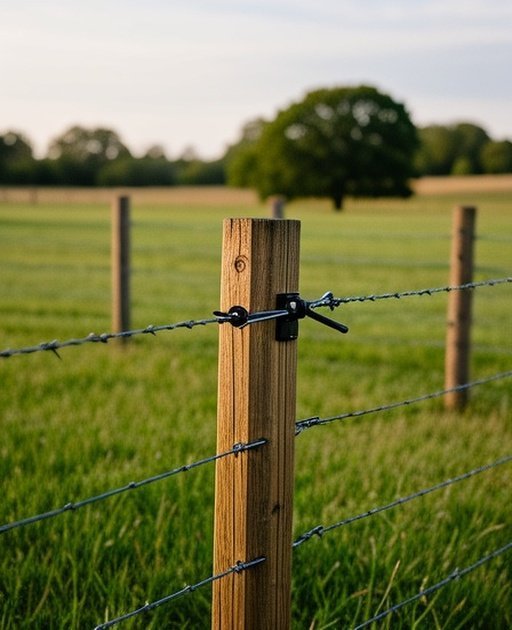
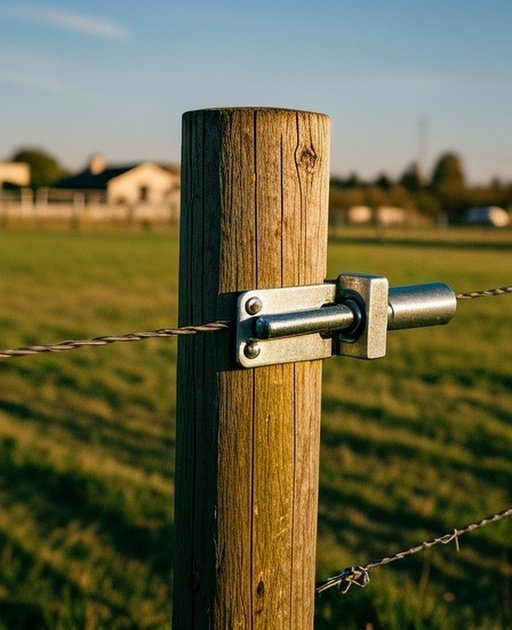
DIY fence installation empowers landowners, small farm operators, and homesteaders to build livestock containment systems independently, reducing labor costs by 40-70% compared to professional contractors while maintaining functional performance for cattle, horses, sheep, and goats. Self-installation requires understanding proper techniques for post setting, barbed wire tensioning, electric fence wiring, and woven wire stretching preventing costly mistakes and premature failures.
This guide covers planning methodology, material selection, essential tools, step-by-step installation sequences, and common error prevention for DIY fence builders tackling perimeter and interior fencing projects. It is designed for rural property owners with basic construction skills, small-scale livestock operations, and homesteaders prioritizing cost savings over professional installation speed. Content focuses on proven techniques suitable for typical farm-scale projects (½-mile to 2-mile total fence length) rather than large commercial ranch operations requiring specialized equipment and crews.
This page does not cover large-scale commercial contracting, heavy equipment operation, or advanced techniques like hydraulic rock drilling. For comprehensive property planning before beginning installation, review the Fence Planning Basics Guide.
YouTube search query: “DIY fence installation step by step for beginners rural property”
What This Guide Covers
What Tools Do You Need to Build a Fence?
A basic fence installation toolkit covers most residential and small farm projects. Essential hand tools: fence pliers (combination tool for cutting, twisting, pulling staples), wire stretcher or come-along, post driver (manual or rent a powered unit), measuring tape, and level. For barbed wire: a wire unroller to prevent tangles, leather gloves, and safety glasses. For electric fence: a voltmeter or fence tester, and a wire crimping tool for high-tensile installations.
Rented equipment pays for itself quickly on any project over 300 feet. Tractor-mounted post driver rental ($150–$300/day) sets posts far faster than any manual method. A powered post auger ($80–$150/day) handles wooden post installation more consistently than a hand digger. If you don't own a tractor, many rental companies offer walk-behind post drivers for smaller projects. Factor rental cost into your project budget — the productivity gain is worth it.
Step-by-Step: Installing a Basic Electric Fence
Electric fence installation follows a logical sequence that, done in order, avoids rework. Step 1: mark all corner post and line post locations with stakes. Step 2: install corner posts and bracing systems, letting concrete cure 48 hours before applying tension. Step 3: drive T-posts at planned intervals. Step 4: install insulators on all posts. Step 5: run wire from one end, stapling or clipping at each post. Step 6: install energizer, lead-out wire, and ground rods. Step 7: test voltage, train livestock.
The most common sequencing mistake is running wire before installing the energizer and testing the system — you may discover a wiring problem that requires re-routing after wire is attached. Installing the energizer system first and testing it with a short section of fence confirms everything works before committing to the full installation. A few hours of groundwork testing prevents a full day of troubleshooting after the fact.
Installing Corner Posts and H-Brace Systems
Corner posts and H-braces are the most important elements of any fence — they anchor the entire fence run under tension. Materials for a standard H-brace: two 8-foot posts (5–6 inch diameter treated wood or equivalent), one 7.5-foot horizontal rail, 9-gauge wire for the diagonal, and appropriate fasteners. Dig corner post holes 36–42 inches deep, set the post, backfill with concrete, and brace temporarily while the concrete cures.
Attach the horizontal brace rail 6–8 feet from the corner post, with the rail mortised or spiked to both posts. Run 9-gauge diagonal wire from the top of the second post back down to the base of the corner post, using wooden chocks to keep the wire from slipping. Twist the diagonal wire with a stick to tighten it until the brace is rigid — this is the mechanism that actually resists the corner post being pulled inward by fence tension.
Running and Tensioning Wire
Wire runs best unrolled from a reel rather than pulled from a coil. For barbed wire: use a reel unroller that mounts on the post or a vehicle, paying wire out as you walk the fence line. For woven wire: use a come-along or tractor to pull the roll along the fence line, then unroll against a wooden post driven into the ground as an anchor. For high-tensile wire: pull from the roll spool or a reel, keeping tension on the wire to prevent coiling.
Tension wire gradually rather than in one pull. Start at one end post, secure the wire, walk to the far end of the run, and apply tension with a fence stretcher or come-along until the wire rings clearly when plucked (like a low guitar string). Then work back from the tension point to the start, stapling or clipping the wire to posts at correct height. Staple woven wire at every post; staple barbed wire every 2–3 posts depending on terrain.
Common DIY Installation Mistakes
The most frequent DIY fence mistakes are: undersized corner posts (using a 4-inch post where a 6-inch post is needed), skipping the H-brace system (putting all tension on the corner post alone), and setting posts too shallow (less than 24 inches in normal soil). Any of these structural failures means the fence sags progressively as wire tension pulls the corner inward over months. Building the corner system correctly is the single highest-value investment in a quality fence.
Other common errors: attaching wire to T-posts before installing insulators (wire grounded directly to T-post defeats electric fence), stapling wire to posts with staples driven so tight they pinch the wire (staples should be driven snug but the wire should still move freely), and splicing wire in the middle of long runs with knots rather than proper connectors. Each of these creates a weak point that fails before the rest of the fence.
Planning Your Fence Layout
Successful DIY installation begins with comprehensive fence planning basics including accurate property boundary verific
First-time fence builders should start with a short practice run — 100–200 feet of simple fence in a low-consequence area (a garden fence or a small paddock rather than a full perimeter). This practice section teaches wire handling, post spacing judgment, and tensioning technique at low stakes before committing to a large project. Most fence skills are physical intuition that develops quickly with hands-on practice.
Watch several YouTube videos of the specific fence type you're installing before beginning — visual demonstration of wire handling, brace building, and tensioning technique communicates the process better than written instructions. Agricultural extension services in many states also offer fence installation workshops where hands-on instruction is available for minimal cost.
If you're deciding between DIY and hiring a contractor
DIY fence installation makes sense when: you have time available (weekends, off-season), you enjoy physical outdoor work, the fence is simple (electric wire on step-in posts), and the project is under 1,000 feet where learning curve time is a smaller percentage of total time. Contractor installation makes sense when: terrain is complex (rocky, steep, or heavily wooded), the fence is complex (permanent woven wire with multiple brace systems), or your time has high opportunity cost from other farm work.
Get a contractor quote before deciding — the difference may be less than expected, particularly for complex installations where mistakes are expensive to correct. A reputable fence contractor brings specialized equipment, experienced technique, and usually a warranty on the installation. For first-time property owners building significant permanent fencing, contractor installation for at least the first perimeter fence provides a reference standard for all future fence work.
If You Have a Tight Budget
Budget-conscious DIY installations prioritize cost-effective fence types like portable electric systems offering lowest
Proper fence height and wire spacing prevent escapes and injuries while meeting lawful fence standards—cattle fencing requires 48-54 inch heights with 12-16 inch wire spacing, horse fencing demands 54-60 inches preventing jumping, whilesheep and goat fencing need tighter 4-6 inch spacing preventing small animal escapes and head entrapment. Perimeter fencing demands full-height specifications while interior divisions tolerate reduced heights for trained livestock. Underestimating height or spacing creates ongoing escape problems requiring expensive corrections—verify species-specific requirementsbefore purchasing materials preventing costly mistakes.
Post Depth and Stability
Post depth standards follow the one-third rule—bury one-third of total post length underground providing adequate stability, typically 30-36 inches for standard 8-foot posts and 36-48 inches for taller corner posts bearing maximum stress. Soil conditions affect requirements—sandy soils demand deeper installation or concrete footings, clay soils provide excellent holding power when dry, and wet soils require drainage improvements. Cold climates necessitate setting below frost lines preventing heave. Inadequate depth causes progressive leaning and premature failure—invest effort in proper depth rather than accepting shallow installation compromising longevity.
Safety for Livestock and People
Fence safety protects both animals and humans through appropriate material selection avoiding hazardous options like barbed wire for horses, proper electric fence installation with regulated voltage levels and warning signage, secure gate hardware preventing accidental openings, and wire spacing preventing entrapment injuries. DIY installers should consult USDA fencing guidelines and animal safety standards ensuring installations meet established safety protocols. Personal protective equipment including gloves, eye protection, and boots prevents installation injuries. Safety shortcuts during DIY installation create liability exposure and animal welfare concerns—prioritize safety over speed or cost savings.
Cost vs Long-Term Maintenance
Initial installation cost versus long-term maintenance represents critical DIY decision—inexpensive portable systems require frequent adjustment and component replacement, mid-range barbed wire offers decades of low-maintenance service when properly installed, while premium high-tensile systems maximize longevity despite higher upfront investment. Annual maintenance costs vary 3-10% of installation depending on fence type, climate stress, and livestock pressure. Total cost of ownership over 20-year timeframes often favors higher-quality initial installations despite greater DIY complexity and material expenses. Calculate long-term economics before selecting fence types based solely on lowest initial costs.
Local Zoning and Boundary Regulations
Legal compliance protects DIY investments through understanding local fence laws and regulations including permit requirements, lawful fence definitions establishing minimum construction standards, setback rules limiting proximity to property lines, and electric fence restrictions in residential zones. Property boundary verification through professional surveys prevents encroachment creating expensive relocation requirements. Shared fence responsibilities with neighbors affect planning and cost allocation. Consult county planning departments and local zoning regulations before beginning DIY projects—building code violations may require complete removal wasting time and materials while creating legal complications.
Is DIY fence installation cheaper than hiring a contractor?
Yes, DIY installation typically saves 40-70% on labor costs compared to professional contractors—total project costs run $1.50-$3.50 per linear foot DIY versus $4-$8 professionally installed depending on fence type and terrain complexity. However, DIY requires significant time investment (2-4x longer than professionals), appropriate tools ($200-$800 initial investment), and accepting responsibility for quality and longevity. Material costs remain identical whether DIY or contracted—labor represents the savings opportunity.
How deep should fence posts be set?
Fence posts should be set one-third of total post length underground—standard 8-foot posts require 30-36 inch depth while taller posts and corner assemblies demand 36-48 inches providing structural stability. Soil conditions, frost depth, and terrain slope may require deeper installation. Shallow posts cause progressive leaning and premature failure—proper depth proves essential for longevity.
Can I install fencing without concrete?
Yes, most fence posts install successfully without concrete when properly tamped in appropriate soil conditions—clay soils and firm loam provide excellent holding power through compaction alone. However, corner posts, gate posts, installations in sandy soil, and wet ground conditions benefit from concrete footings increasing stability. Concrete adds $3-$8 per post in materials plus installation time—use strategically for high-stress locations rather than entire fence lines.
How long does a DIY fence last?
Properly installed DIY fences achieve comparable lifespans to professional installations—high-tensile systems last 30-40 years, barbed wire provides 20-30 years, woven wire delivers 15-25 years, and permanent electric systems serve 20-30 years with component replacement. Temporary portable fencing lasts 5-10 years. Longevity depends on proper installation technique, material quality, climate stress, and ongoing maintenance—poor DIY installation reduces lifespan by 30-50% through premature failures.
What is the easiest fence to install yourself?
Portable electric fencing represents the easiest DIY option requiring minimal tools (step-in posts, polywire, solar energizer), forgiving installation errors, and providing functional containment within hours rather than days. Permanent electric systems offer next-tier simplicity, while barbed wire and woven wire demand greater skill, strength, and specialized tools. Beginners should start with simple systems building skills before attempting complex permanent installations.
Final Recommendations
DIY fence installation offers substantial cost savings for small farms, rural homeowners, and budget-conscious livestock operations willing to invest time and effort learning proper techniques. Success requires realistic capability assessment, appropriate tool investment, comprehensive planning using fence planning basics, and commitment to quality standards matching professional installations. Start with simple projects like portable electric divisions building experience before attempting complex permanent systems.
Not ideal for large-scale ranch operations requiring heavy equipment, extensive projects exceeding available time and labor capacity, or situations where professional speed justifies contractor costs. Before beginning, review fence cost and budgeting guides establishing realistic financial expectations, evaluate material options balancing upfront costs with longevity, and verify local regulations ensuring compliance. Invest saved labor costs in premium materials and quality tools creating durable livestock containment systems serving decades through proper DIY installation and ongoing maintenance.
Short Answer To set fence posts in rocky soil, use a combination of digging bars, smaller pilot holes, and compacted gravel backfill instead of relying…
Short Answer Frost heave can push fence posts upward, tilt them out of alignment, loosen surrounding soil, and reduce overall fence stability. It occurs when…
Short Answer Yes, sandy soil can support permanent fence posts—but only if posts are set deeper, properly compacted, and often reinforced with concrete, gravel, or…
YouTube search query: “DIY fence installation step by step for beginners rural property”
Explore More Fencing Guides
Find the right fence for your farm — browse by livestock type, material, or project need.